This tutorial I did three years ago and it shows how fast and with small amount of money do stones and rocks terrain elements for your game.
Sorry for my english and names of products if something is not right or not understand leave a comment and I will try to explain or improve.
What you need:
- Toilet paper
- Something hard to make a base (like a cardboard box that you can get in a supermarket)
- Hobby knife
- PVA glue (glue from flour)
- Adhesive tape or better Gaffer tape
- Modelling sand - 2-3 different sizes
- Static grass
- Water
- Paints - I will write the colours that I used for this tutorial but I did not use the Citadel paint as it is to expensive to paint so large areas. I just both big white paint and colour pigments and mix them to get the right colour. You can buy some small starter of acrylic paint in Homebase or other store.
Base
First you have to prepare a good solid base. I cut a 25cm x 15cm rectangle from cardboard box and give him a irregular egg shape.
Because the cardboard has not nice looking sides I used Gaffer tape to cover imperfections.

Making rocks
It is very easy to make a toilet paper stones. You just simply take as much paper as you want and squeeze it to get the shape as you want. To prevent paper to roll out or broke - simply veneering it with Gaffer tape. Latter the paper will be wet so you have to keep in mind that it will be little smaller.


Wet work
When you have the stone shape as you like you are ready to start gluing. To make the cost even smaller you can prepare a glue from flour day before.
First put a lot of glue on the base and set you stone. After that water down the PVA glue and using a big brush add the glue on the stones.

To cover the Gutter tape take one sheet of toilet paper and put on the tape and using brush spread the water down glue. Working this way add additional toilet sheets to get best cover.

Work with the brush to get rid off all dots on the paper to moment when you get good cover of all the rocks. No place should be left dry.
Waiting
Second stage of creation is to add additional small rocks and sand to make our terrain look better. Just use whatever sand and stones you want and spared them across the places you like on the base.

Now you have to wait that the glue will dry creating hard surfaces. You can speed up the process just take from your mom or sister hair dryer and start drying paper rocks.

Painting
Explaining the process of painting will be to long so I shorten it to the colours that I used and name of the technique. Remaining I did not use Citadel I just give the name of colour.
Undercoat the total terrain in black.
Stones:
1. Downstone - cover all the rocks. In my work one layer of paint did not cover good. I had to make 3 layers of grey to cover the rocks.

2. Administratum grey - using Drybrush technique cover the rocks.

3. White Scar - using Drybrush technique cover the rocks. This is the last layer so don't push so much the brush just a thin layer. But if you want your stones to be more bright do 2 - 3 times the dry brush.

Base
The steps are the same like with the rock but the colours are:
1. Mournfang brown
2. Zamesti desert
3. Ushabti Bone
Finishing
When you are happy with all the painting it is time to finish the terrain by adding some static grass. I additionally added static grass in places where I saw that the paint did not cover well some elements and hide the bungle.

Hope you like the tutorial any comments will be nice.
You can view the gallery on flickr
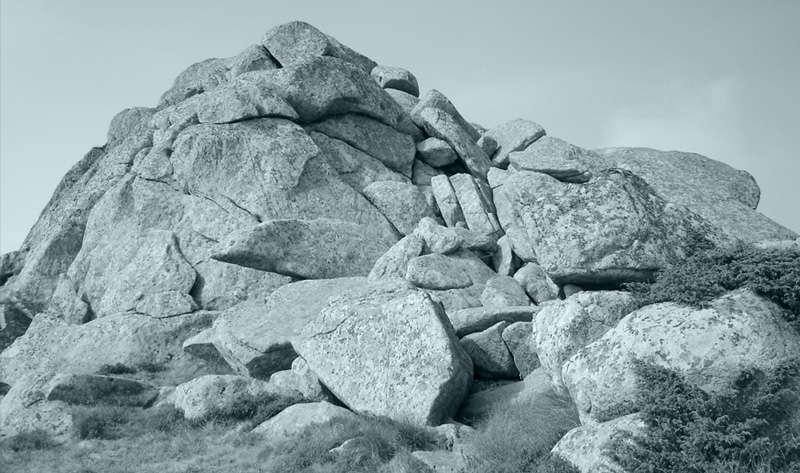
Some ready rocks


No comments:
Post a Comment